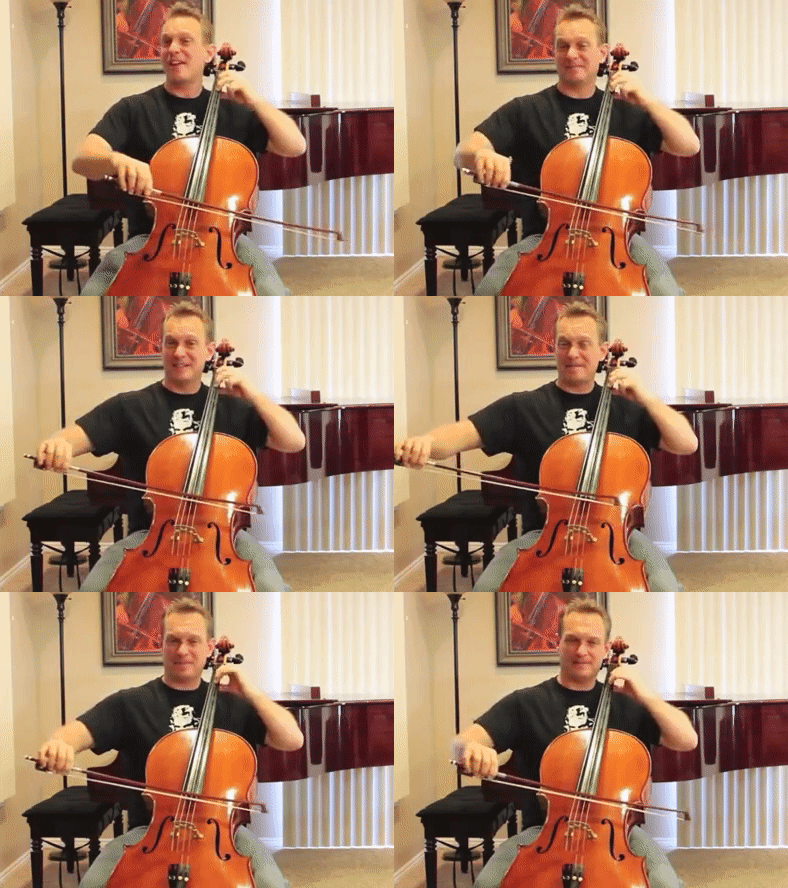
Baby Steps to Success!
You are finally going to make a true vibrato! But the first step is to successfully execute a pre-vibrato. A pre-vibrato is just like vibrato in that your finger presses the string all the way to the fingerboard but instead of staying centered over a single pitch, the hand slides a quarter step up and back. As discussed in video lesson no. 3 we are going to great lengths to create a vibrato that you can control. With each video we are gradually adding weight to the vibrato motion to test if you can do so in a controlled fashion.

Once you can successfully execute a pre-vibrato all you need to do is add one tiny bit of weight to the motion and your finger will remain over the same pitch on the fingerboard but the vibrato motion will cause the pad of the fingertip to rock centered over that pitch creating a slight oscillation in the pitch. I highly suggest going back and forth between pre-vibrato and vibrato to zero in on just exactly how much pressure is required to keep the finger centered over the pitch but not so much pressure as to impede the vibrato motion or create tension. Once you have the correct motion (see video 1 and video 2) learning to vibrato is simply understanding exactly how much weight to apply to the finger. That is why we spent so much time in video 3 and 4 helping you to develop a heightened sensitivity and control.

As you transition into a fixed-point vibrato double check your vibrato-motion checklist:
- Elbow stays put — don’t let the elbow move up or down as the rotation occurs
- Rotation is centered — rock back towards your ear as much as you rock forward below your nose
- Straight EWP — keep a straight line from the tip of your elbow to the pinkie knuckle (Elbow – Wrist – Pinkie)
- Use the back muscles not the wrist — your wrist should not twist or rotate, it acts only as an extension of the forearm. Originate the motion using back muscles (lats).
Pro Tip
Video yourself doing vibrato. If possible, video from multiple angles so you can keep an eye out for tension, twisty wrists, dipping elbows, or collapsed knuckles.
By the end of this exercise the sound coming out of your instrument should sound like vibrato!!! But you are not done yet. Now it’s time to transfer that motion to the other fingers in the hand and develop some longevity in the motion. If you sound like you are vibratoing then you are ready for the next video lesson — Vibrato on Every Finger.
HAPPY PRACTICING CELLISTS!
